Back in time: Windows 95 installation!
The following is a sample chapter from the e-Book: 20 Years of Windows: From Windows 95 to Windows 10. Enjoy reading!
“Windows 95 was a nice milestone.” Bill Gates
More than twenty years ago, in August 24th, 1995 the Windows 95 was launched merging MS-DOS and earlier Windows OS’s into one single GUI (graphical user interface) operating system. The most important, the Windows 95 brought the Start menu which in the years to come would become the stamp of Windows operating systems. As this e-Book covers only the installation part of an operating system, then the minimum system requirements for installing Windows 95 was:
- Processor: 386DX or higher processor
- RAM: 4 MB
- HDD: 50-55 MB
- FDD: 3.5 inch high-density
- Monitor: VGA or higher resolution
- Other hardware: keyboard and mouse
- Internet connection: Dial-up
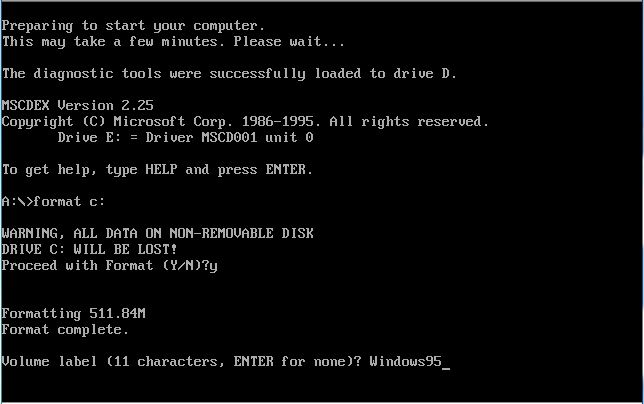
If you’ve completed successfully the steps from “Appendix C: Preparing computer for Windows 95/98/ME installation”, then you are ready to move on with the installation of Windows 95. After you have created a DOS partition, format the C: drive by typing the format C: on the command prompt. At the end of formatting process, you are required to name the volume (11 characters).
Type the name for your volume and then press Enter from the keyboard.
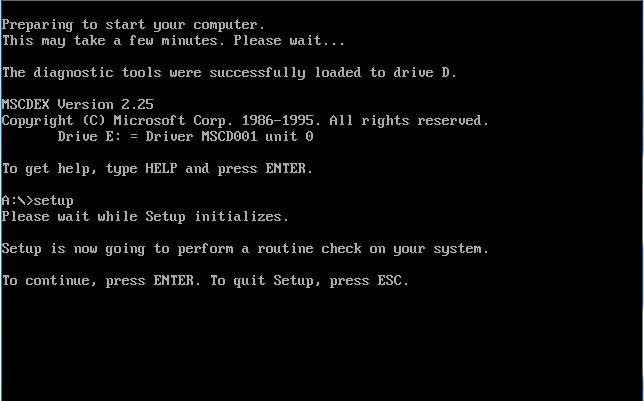
Type setup from the command prompt to start the Windows 95 installation.
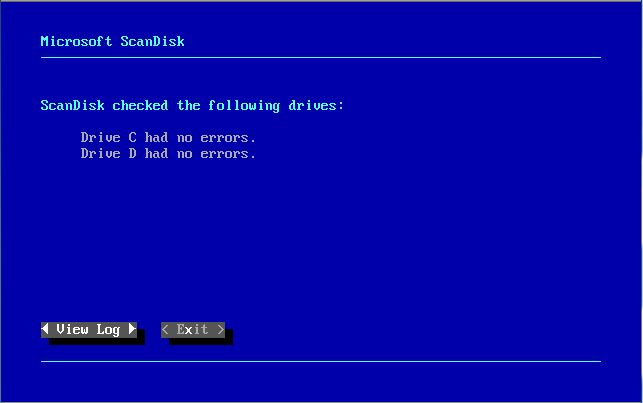
ScanDisk will check the disk C: for errors. Use the arrow keys to select Exit and press Enter key.
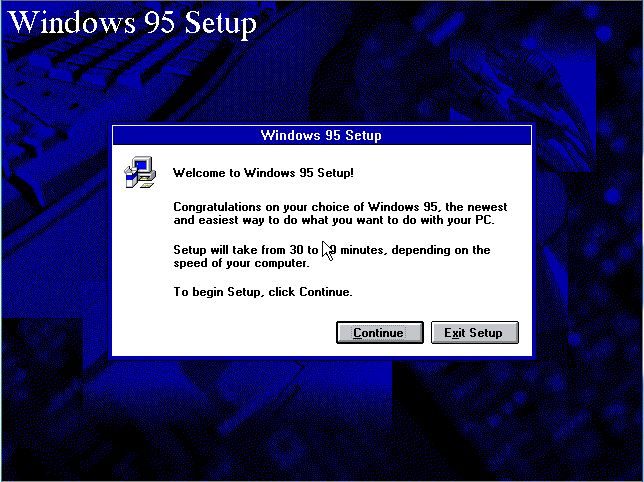
Windows 95 setup will begin with a mouse click on the Continue button.
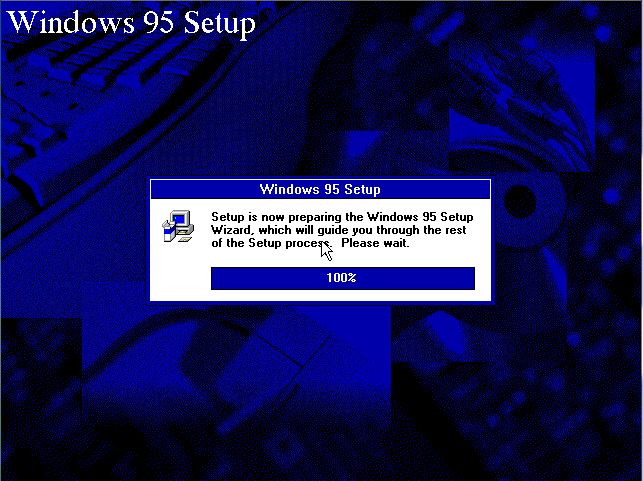
Setup is preparing the Windows 95 Setup Wizard.
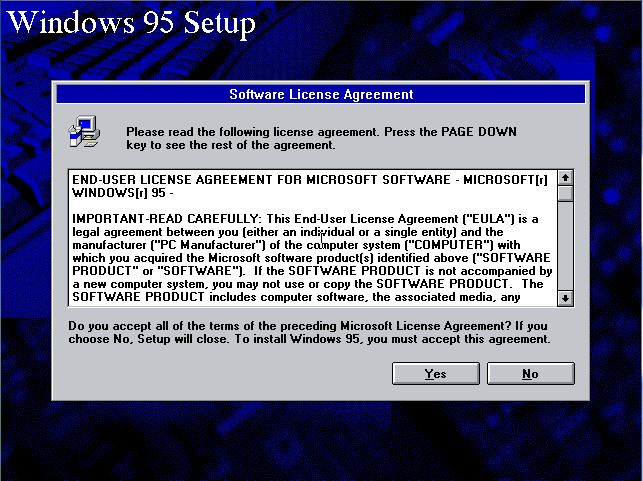
Take your time to read the Software License Agreement. You’ll accept it by clicking the Yes button.
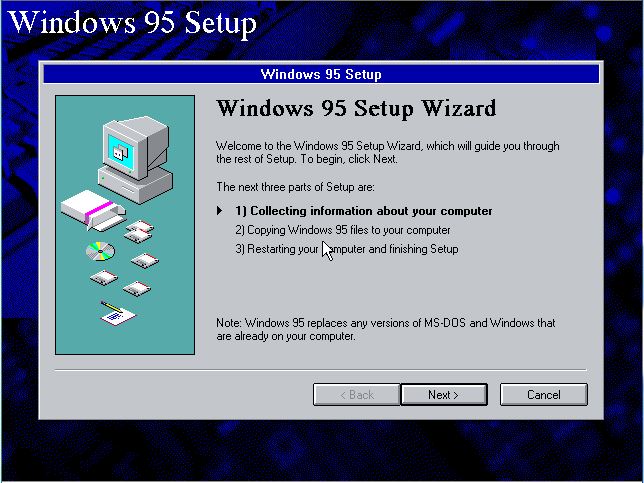
The Windows 95 Setup displays the three parts of the Setup so the Windows 95 gets installed. Click Next.
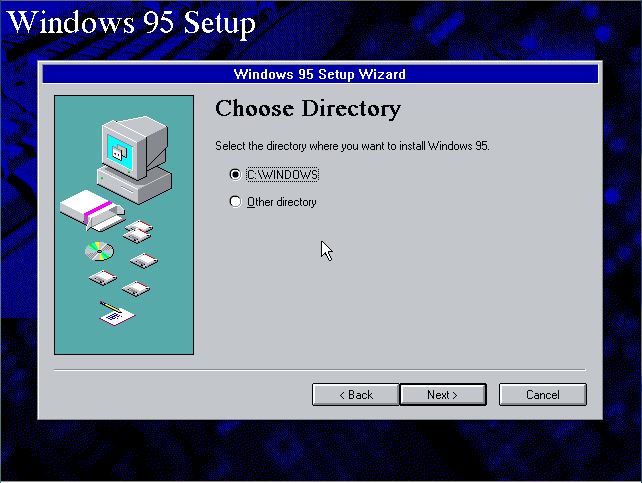
Either select the default installation directory or other directory. Click the Next button.
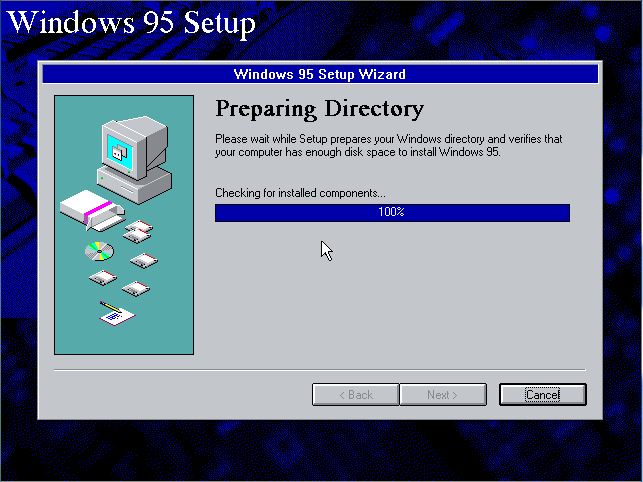
Windows 95 Setup takes care of creating an installation directory and making sure there’s enough disk space.
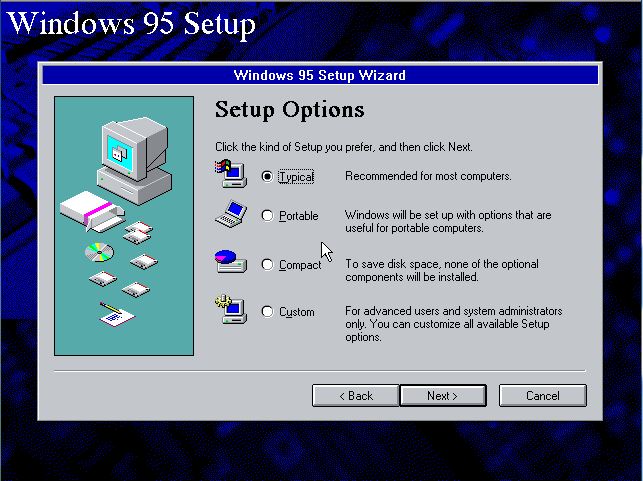
You’re being offered four type of setup options. Select the preferred one and click Next.
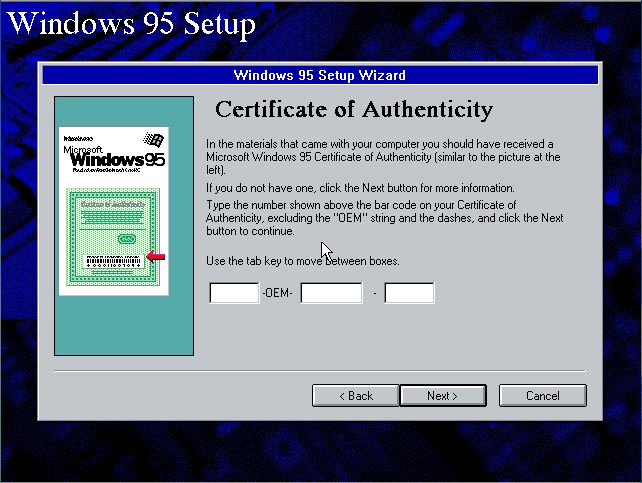
Nowadays, Product Key replaced the former Certificate of Authenticity. Type it and click the Next button to continue with Windows 95 installation.
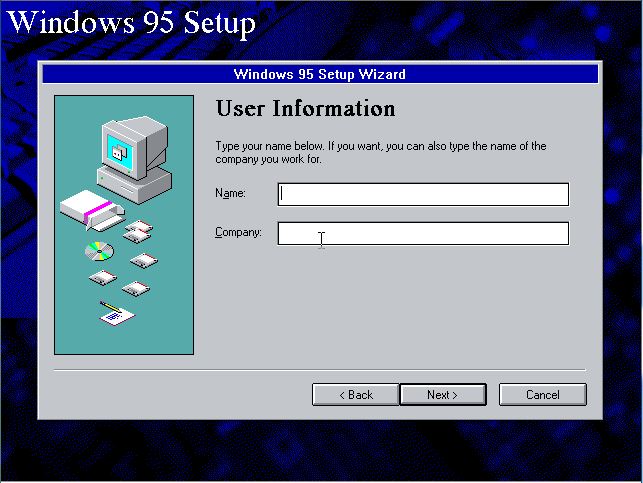
Windows 95 Setup prompts for the user information. Type it and click Next.
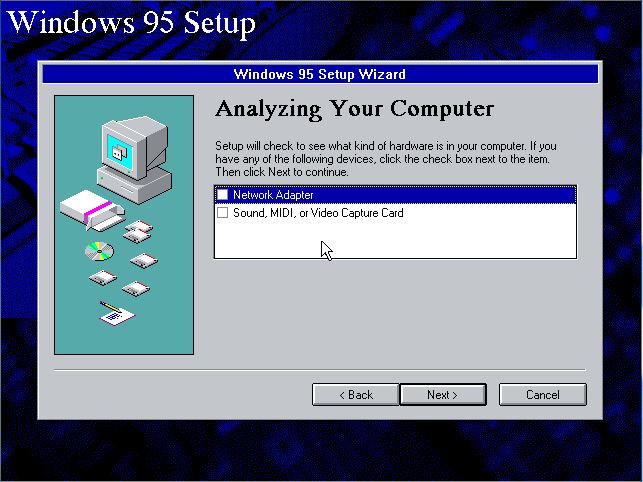
Provide the input for the hardware you own on your computer and then click Next.
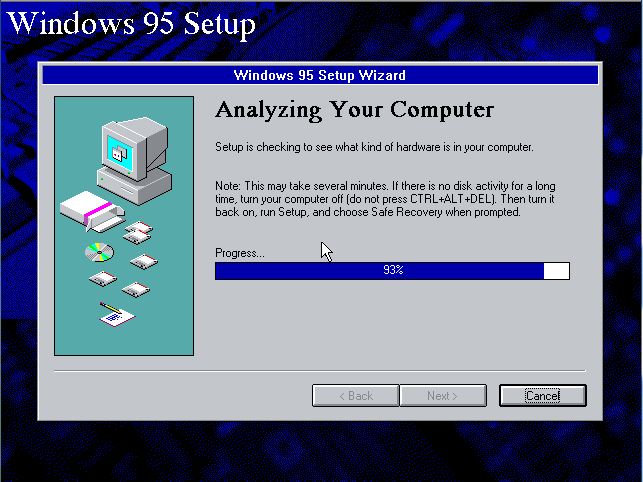
Based on your previous input, Windows 95 Setup is analyzing your computer hardware.
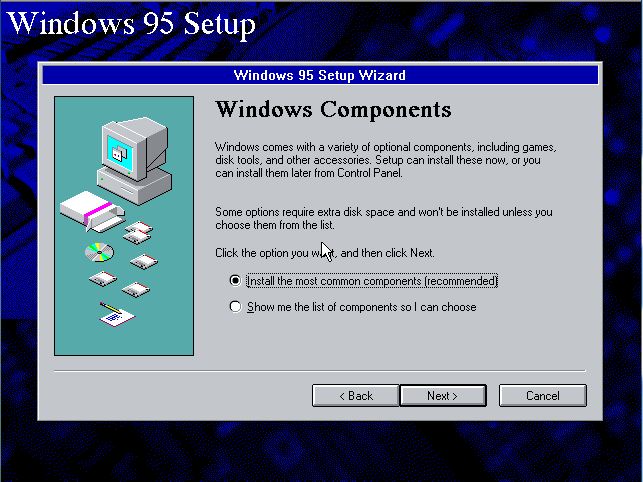
Either install the most common components or customize it accordingly. Click Next.
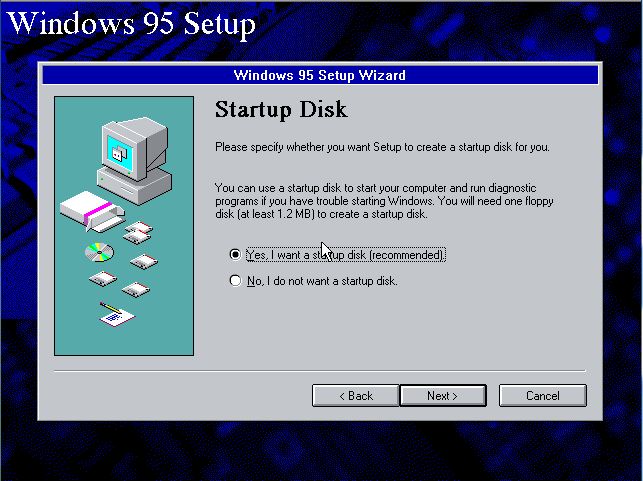
Windows 95 is DOS dependent operating system therefore requires the startup disk in case your encounter trouble starting Windows. Insert a floppy disk in FDD and hit Next.
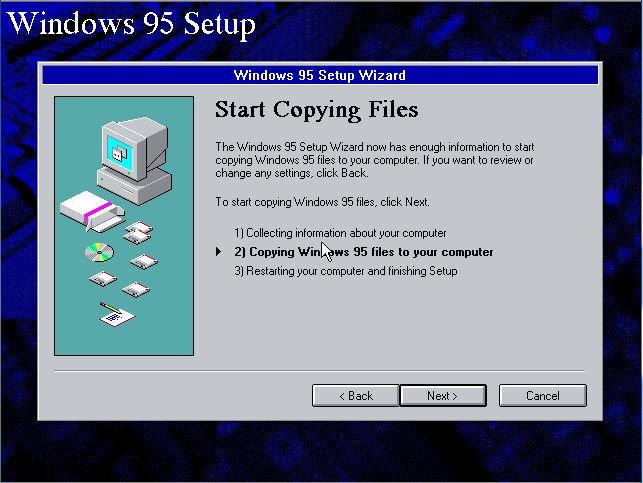
Windows 95 Setup Wizard is informing you that the copying files process is about to begin. Click the Next button to start copying Windows 95 files to your computer.
The actual process of installing the Windows 95 has begun. Sit back and relax.

The Windows 95 copying files process is almost complete.

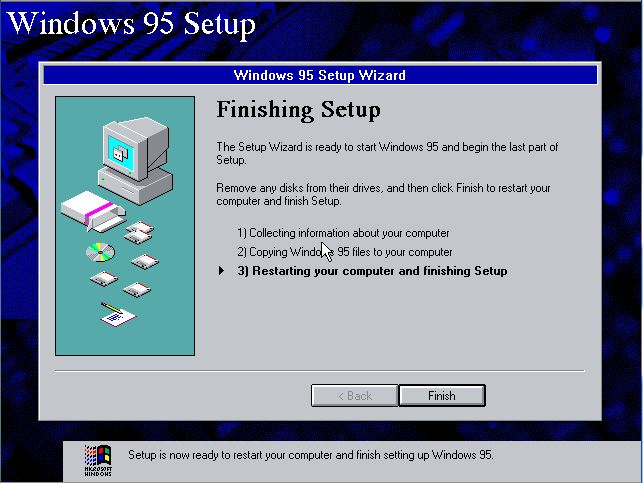
The Windows 95 copying files process is complete and the Windows 95 Setup Wizard will restart your computer after you click the Finish button.
Good old DOS interface indicating that the Windows 95 is starting…

The famous statement: “Getting ready to run Windows 95 for the first time…”

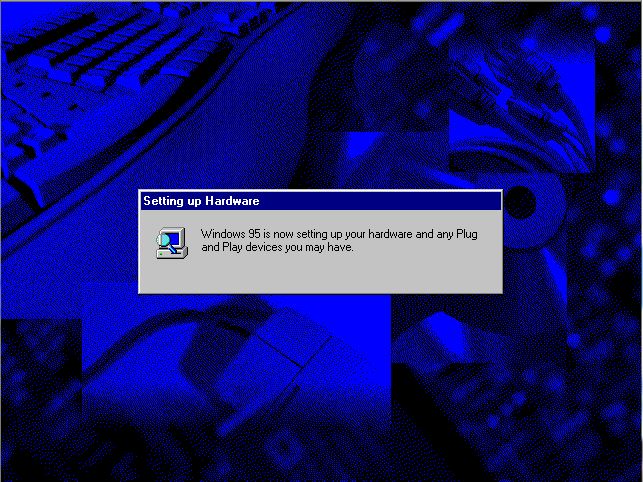
The Windows 95 is setting up your hardware and installing the default drivers.
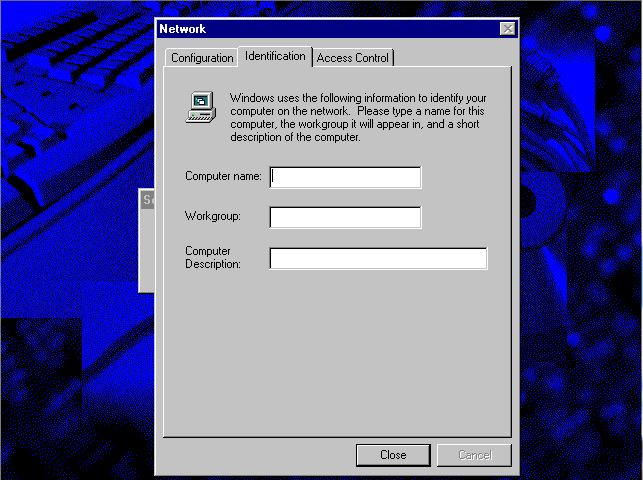
You must provide computer and workgroup names to identify your computer on the network. Click the Close button.
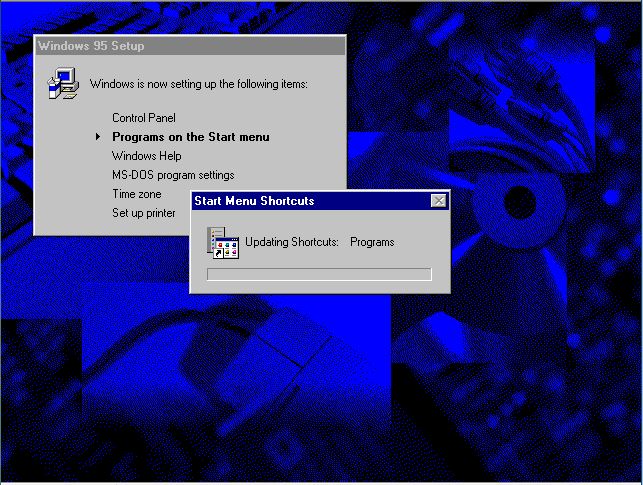
The Windows 95 Setup is setting up the final items before starting the Windows 95.
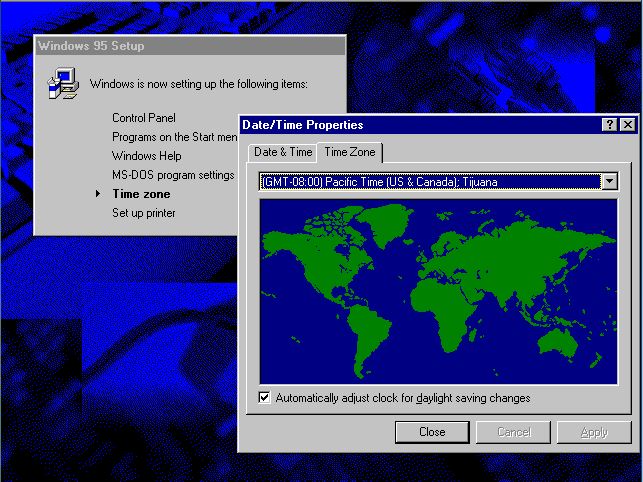
Select your time zone and click the Close button.
Windows 95 Setup requires the printer setup prior to starting Windows 95 for the first time. Either continue setting up your printer by clicking the Next button or Cancel if you don’t.

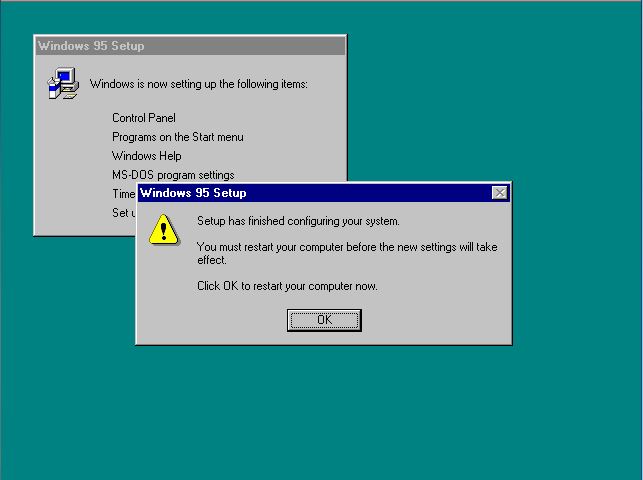
It’s the final restart before bringing up the Windows 95 Welcome screen. Click OK.
The famous Windows 95 Start screen…

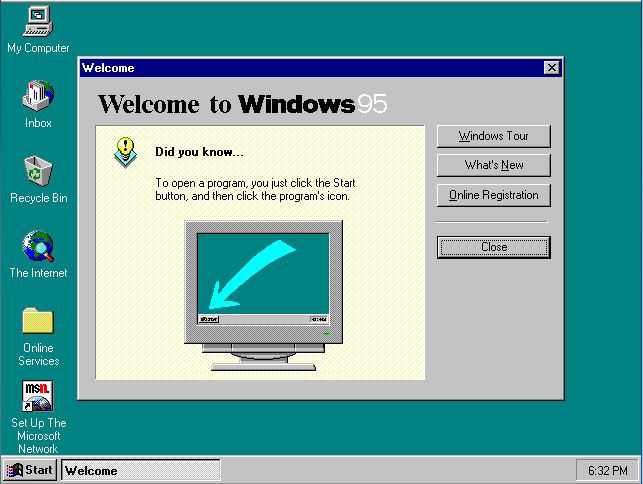
Voila, there it is the Windows 95 Welcome screen…
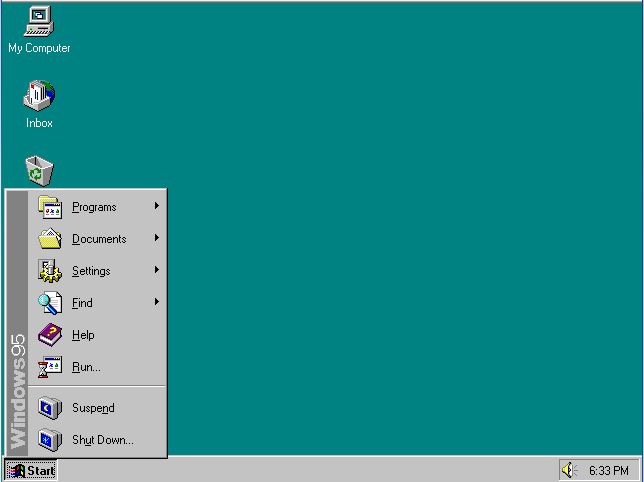
The Windows 95 Start menu and desktop.
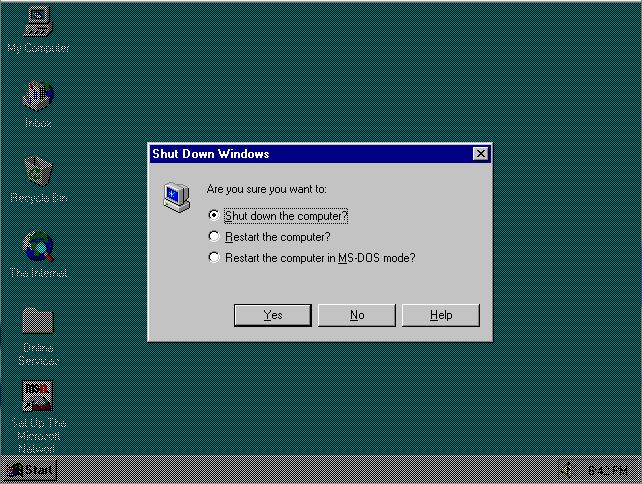
The Shut Down Windows dialog box.
Take your time to share your experience within Comment’s section if you’ve used Windows 95. Thank you!
Hope you’ll find this post informative.